Using the Windows Client
Using the Windows Client
-
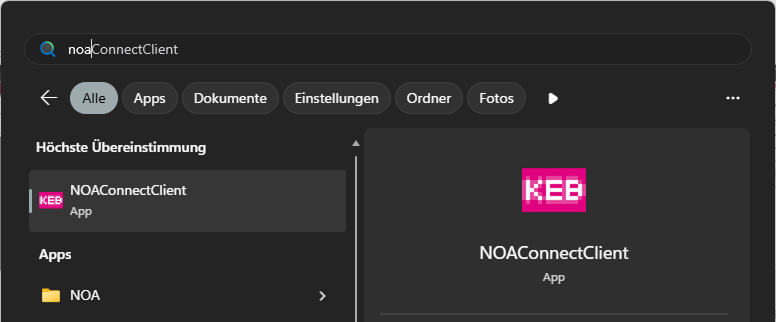
Open the client
The client is available as desktop shortcut or using the Windows start menu.
Search for "NOAConnect" without separator (space)
-
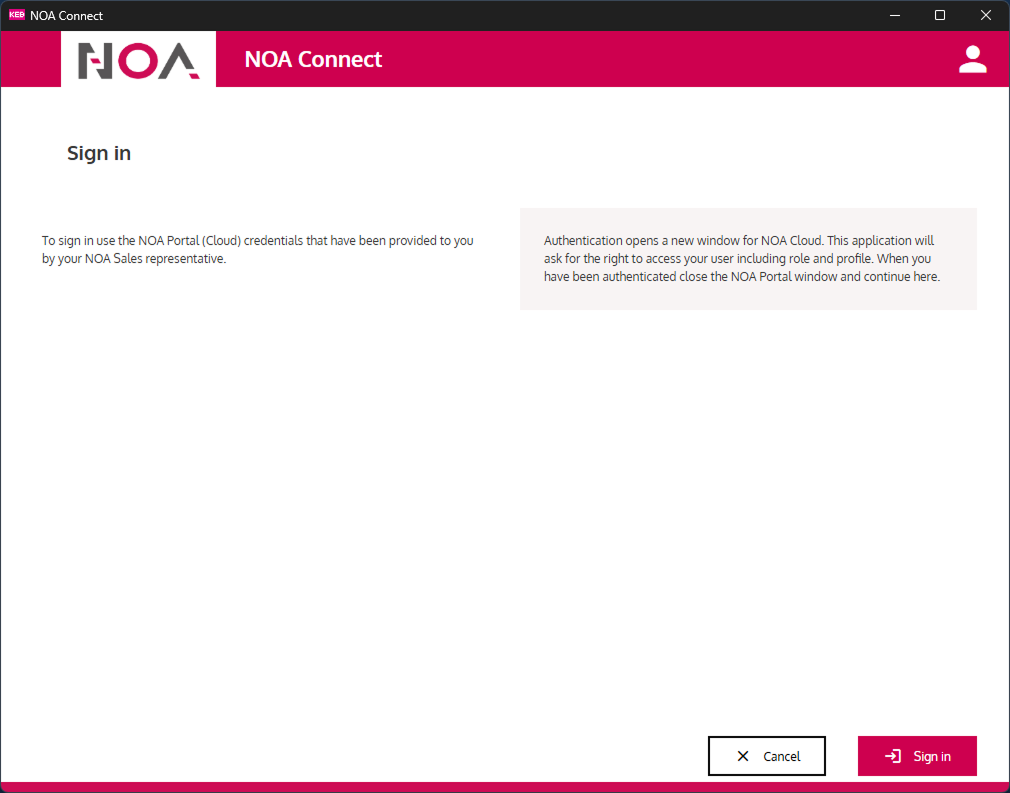
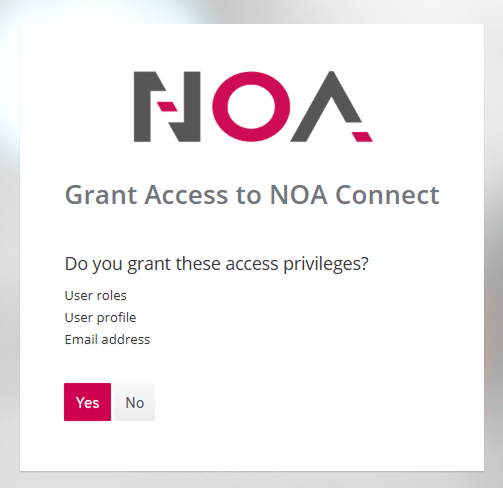
Sign in From the first screen use "Sign in". This will open a browser window and asks for your NOA Portal credentials. After sign in: grant access to the user information. After you confirm, you can close the browser window and continue in the client.
-
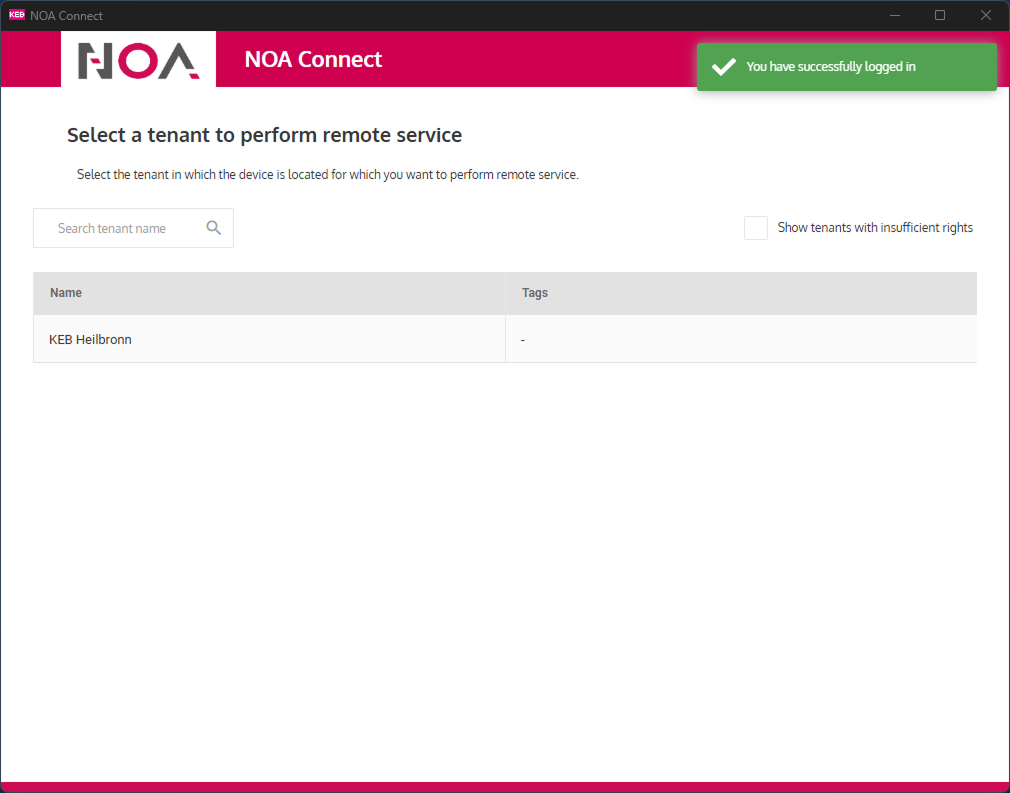
Select Tenant
There may be multiple tenants available, depending on what devices you may perform remote service i.e. where you are a "Remote User", see Enable NOA Connect.
-
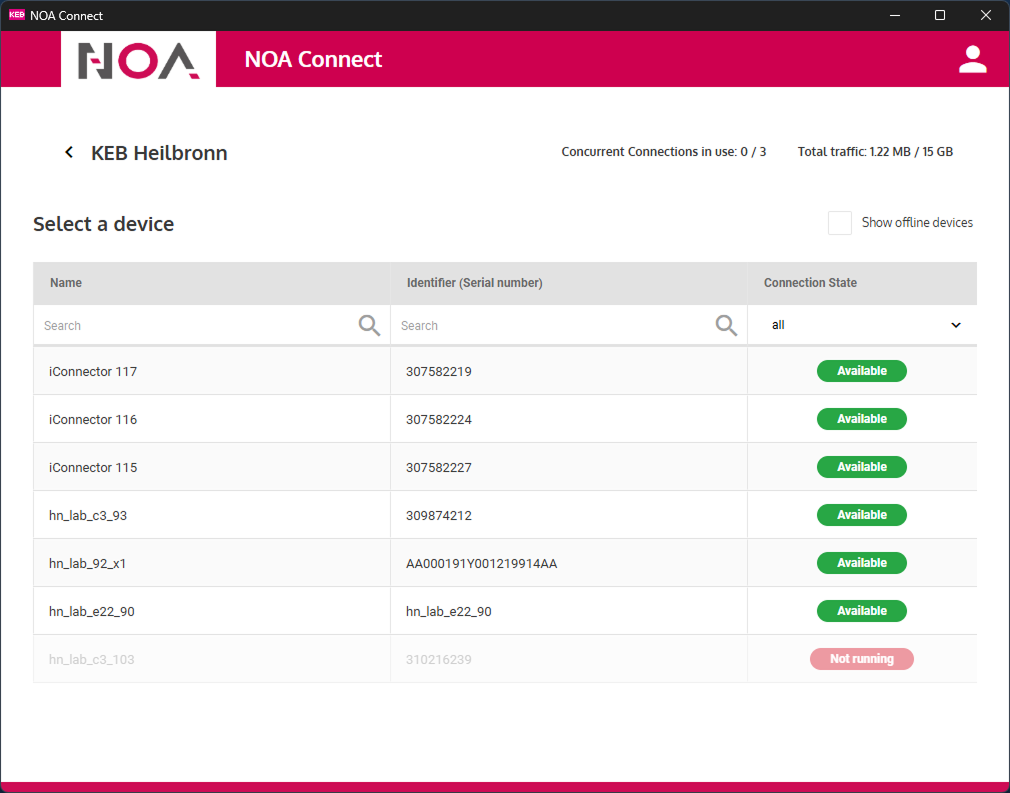
Select the device
-
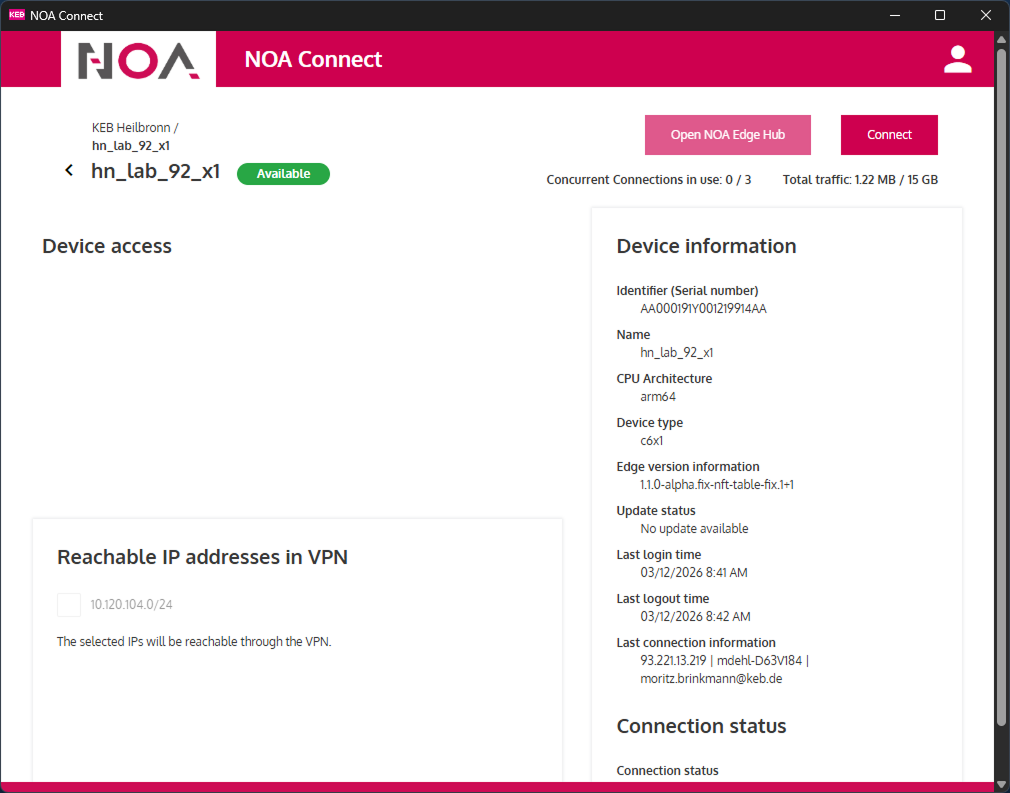
Connect to device
Press the button "Connect" to establish the connection. The client informs about the progress.
infoIf enabled on the edge device in the NOA Connect app the remote connection can be extended to subnets connected with the target device.
Enable the IP address(es) in "Reachable IP addresses in VPN".
This must be done before connecting since it will be part of the secure connection.
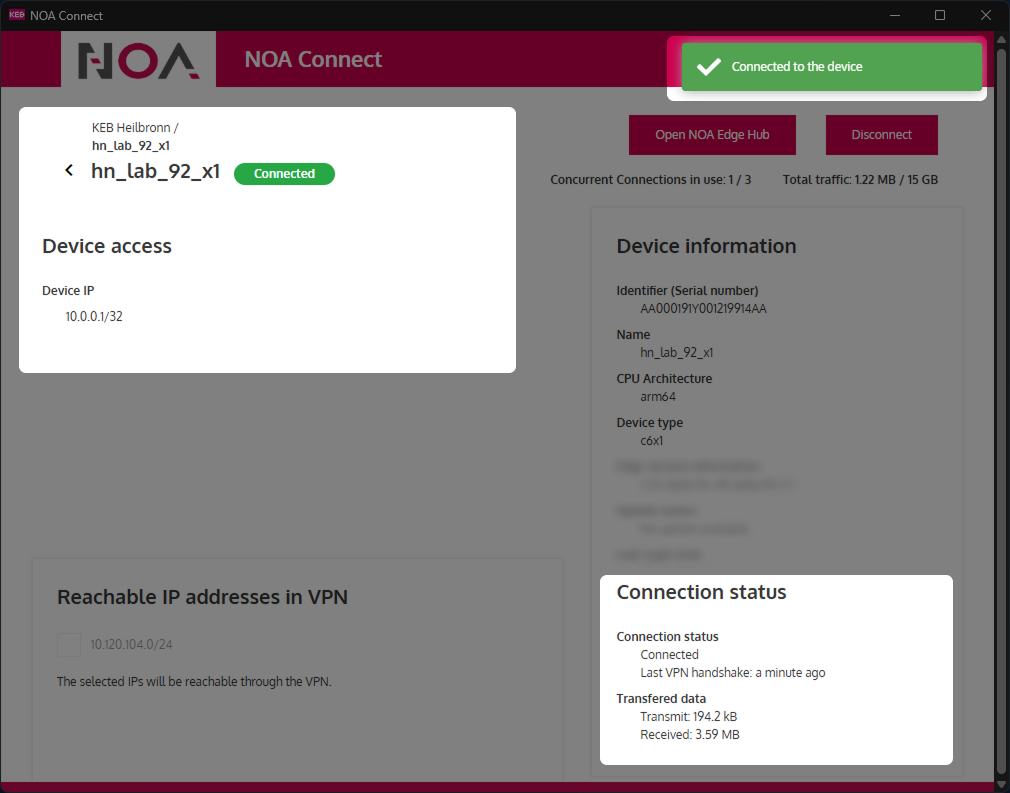
When connected the clients shows "Connected" as status, the IP address of the connected device and more information unter "Connection Status"
-
Open NOA via the remote connection
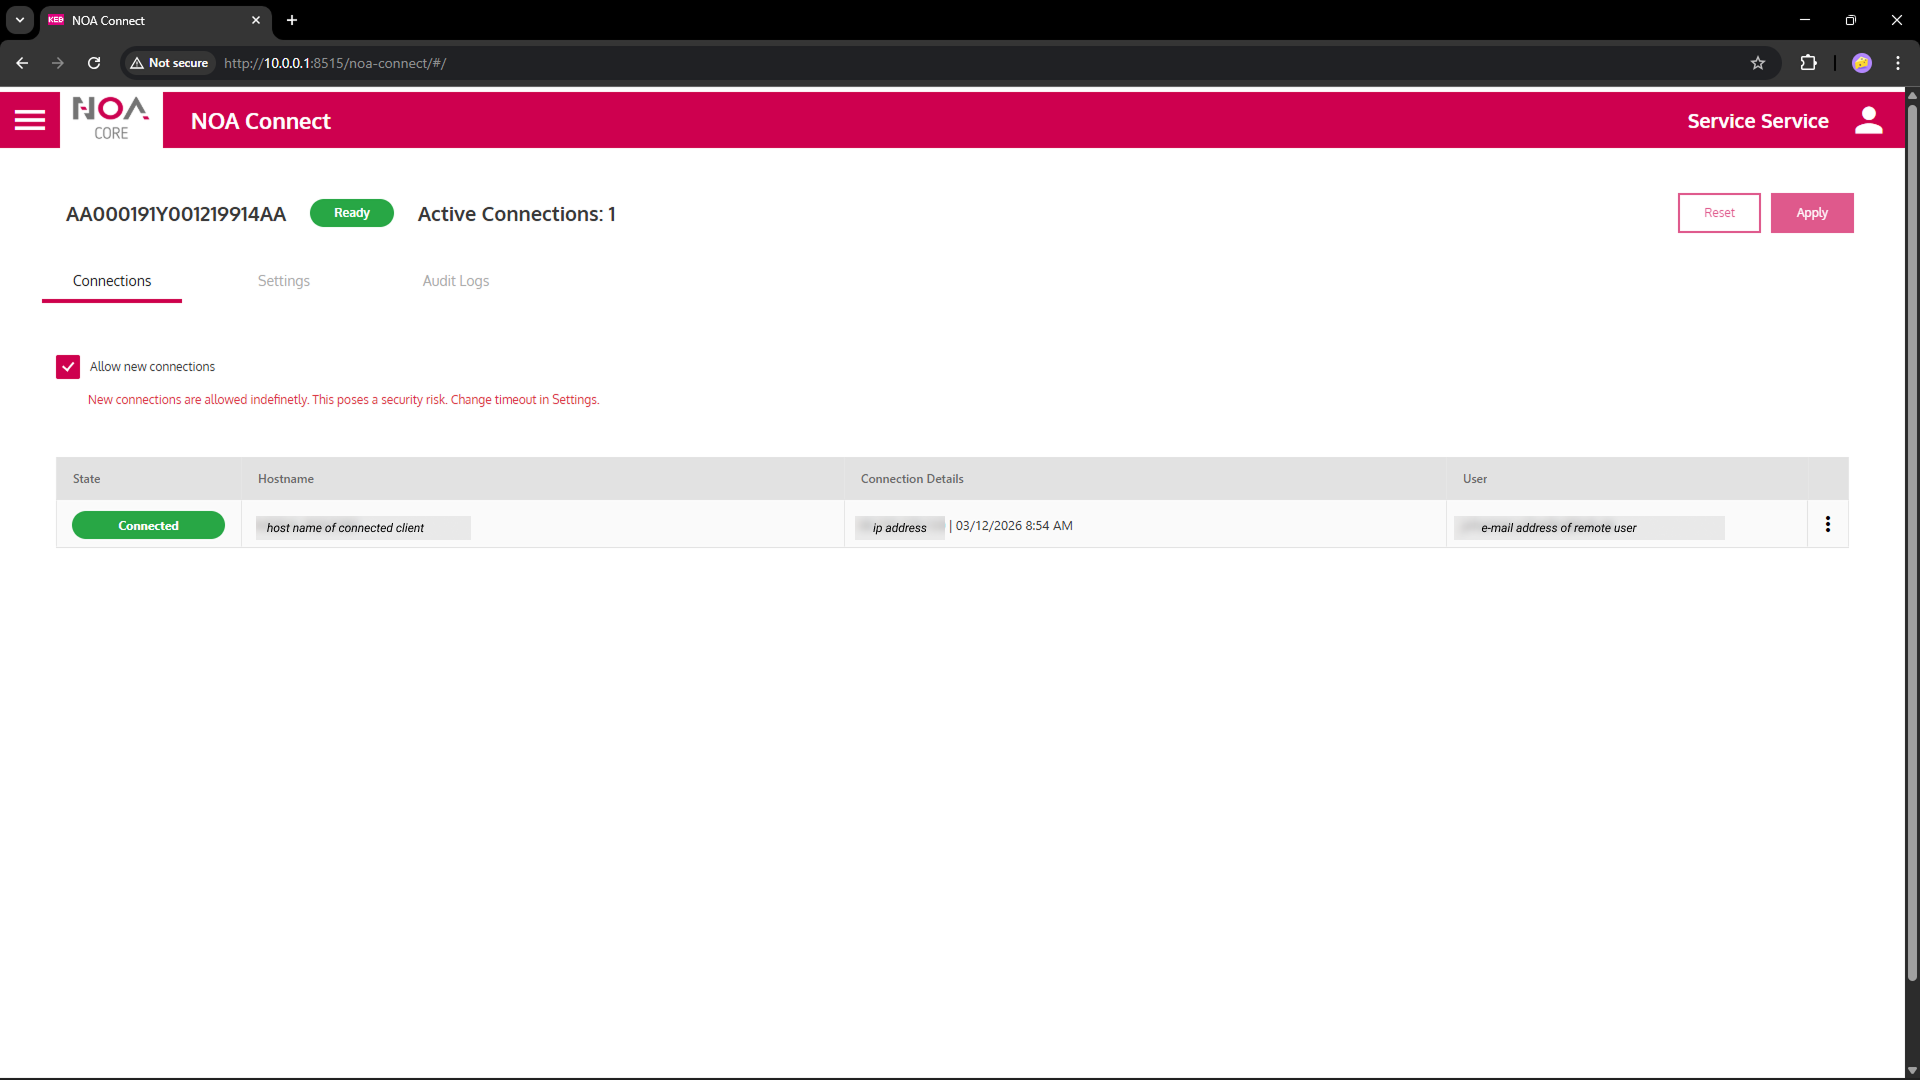
Press the button "Open NOA Edge Hub". This opens a new browser window for the target device using its IP address. Note: The IP address in the browser bar is the one shown in the Windows client as "Device IP".
Click in the tile "NOA Connect" to open the app. The current connection is shown in the list of active connections.
infoUse this IP address for other programs to connect to remote devices, e.g. in COMBIVIS to connect to a C6 COMPACT 3 controller.
Troubleshooting
- Wait a few seconds after a disconnect before connecting again: When you re-try too fast the connection may fail.